
App mockup: all there is to know
Thanks to this article, you'll learn what an app mockup is, what it's like to create one, and how to use it.
The app design process is ever-changing in the modern, agile environment.
We’ll lay it out and clarify the whole process for you, so you can understand it better.
Keep in mind that while steps in the app design process are chronologically listed, a lot of them happen at the same time as others, or they are repeated during different stages of app design.
UX and UI designers, along with content strategists, information architects, and developers are involved in creating a perfect app design.
Understanding the steps in this process can help you develop app design from scratch or fix and improve your existing design.
Let’s get to it!
Everything begins with research.
All the best design you see from the likes of Spotify, Netflix, Youtube etc. has been heavily researched.
Usability and user research are the most important when it comes to app design.
Comprehensively researching from the beginning helps you to:
As you can see there’s a lot of understanding going on. It really is the key to excellent app design.
It helps you avoid costly mistakes further down the line of app development.
All research can be divided into 2 types, so let’s dive into those and find out what methods can be useful for app design.
This is all the research that doesn’t give any numerical data. It’s used to detect trends and ideas that can further be analyzed in order to gain valuable insight on how to move forward with the design.
User experience design benefits immensely from this sort of research because it’s mostly concerned with how the users interact with the app.
Let’s check out some qualitative research methods for app design.
Interviews
These are one-on-one interviews a researcher has with the subject. They’re among the most common qualitative research methods.
Some good questions for researchers to ask participants about design would be:
Here’s a tip: using open-ended questions will aid you in gaining a lot of valuable data you wouldn’t get otherwise.
Journal studies
Ask your users to document how often, for how long, and why they do a certain activity, such as using an app.
This is a great way of gaining authentic, honest feedback for your app design.

Keep in mind though, that research participants might occasionally forget to note down their activities.
Observational studies
In observational studies, the participants are observed and often filmed interacting with the app or doing a certain activity.

It’s a more controlled research method than journal studies but more invasive for the participant. It may produce results that don’t represent the actual real-world use of the app.
Card sorting
I find this method very useful for UX research because it deals with organizing and categorizing information.
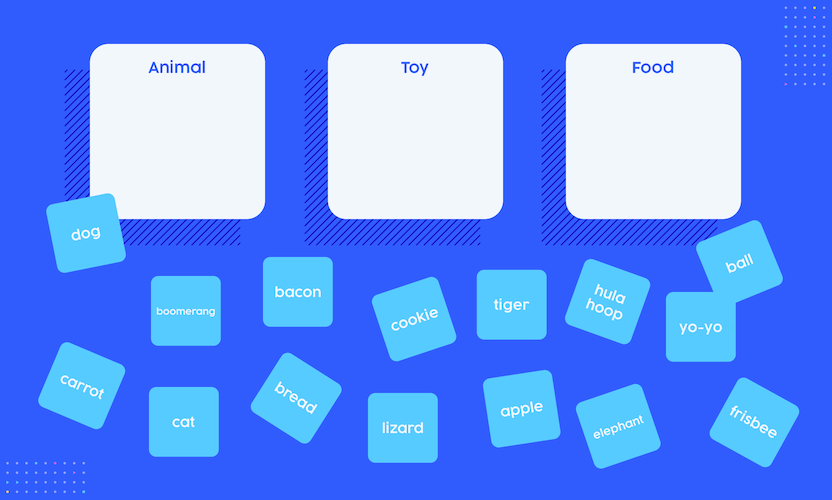
Source: Usertesting
All you need for this research method are some users and paper. Here are the steps:
This method will allow information architects and content designers to see which content is intuitively associated with each other.
Now we move on to quantitative research. Here we gather data that is quantifiable.
With hard numbers, we can get more reliable information free of biases.
Let’s have a look at some methods of quantitative research.
Online surveys
One of the oldest and most reliable methods of quantitative research, online surveys can help you gather many types of data.
Taking usability as an example, use surveys to better understand how the users like the design, if it’s easy to use or not.
Desirability studies
These are best used for understanding how your brand is perceived through your app design.
By presenting the product to the user (a prototype or an image) and asking them to describe it from a set of preselected adjectives, you can learn a lot about the design and your brand.
For example, you could learn that 70% of the study participants thought the interface looked pretty.
App analytics
While the entire app will benefit from using app analytics it’s important for app design too. Using app analytics tools to find out certain UX metrics such as: engagement, retention rate, daily active users etc.
Here’s some great tools for app analytics you can use:
Research is one of the most, if not the most important part of app design. It should not only happen in the beginning but also through the entire process.
After thorough early research, we have the ideation step. It’s the process of generating ideas without any judgment.
The point is to create as many ideas as possible that cover as many angles as possible.
The research step of the app design process helps you identify problems or pain points your users have.
We use ideation in app design so that we can solve those problems the best way we know how.
If you don’t take this step seriously you’ll have a few ideas, probably poorly developed and you most certainly won’t have all the angles covered.
Here are 3 most effective ideation methods to improve your app design.
Brainstorming
A good old-fashioned brainstorming session will surely send ideas flying around the meeting room.

The purpose is to generate numerous ideas, no matter how eccentric they might be. These ideas shouldn’t be rewarded or criticized in this phase.
Here’s how you start a brainstorming session:
Now it’s time to think of ideas to solve the problem.
Here’s an example:
Problem: UX design of the app is too complicated
Solution: simplify the user flow
Possible idea: remove certain screens from the design
Brainstorming never fails when it comes to design ideation.
Challenging assumptions
Here you’ll have to think of the most common assumptions when it comes to your design.
Then you and your group have to mercilessly analyze this assumption in order to find out if it holds up to scrutiny.
Using this ideation method can offer new and fresh perspectives.
Worst possible idea
“What if every time the user scrolls through the app we activate a recording of a high-pitch scream?”
That’s just an example of fun ideas that can pop up during this ideation session.
Worst possible idea basically helps team members relax but that isn’t its only function.
As the group lists the worst possible ideas they thought of, they should start analyzing them to see why they are so bad.
Then, they should replace the worst elements of the idea with something a bit better.
“Instead of a high-pitched scream, it could play a pleasant melody.” While the idea remains bad it’s a lot better than before.
Without ideation, the next steps in the app design process wouldn’t be possible.
Having settled on certain ideas for your app design it’s time to draw them out.
That’s called wireframing. It’s the process of creating a simple sketch of the app interface with key content and flows. A wireframe provides the first visual representation of the app and it’s the foundation of an app design.
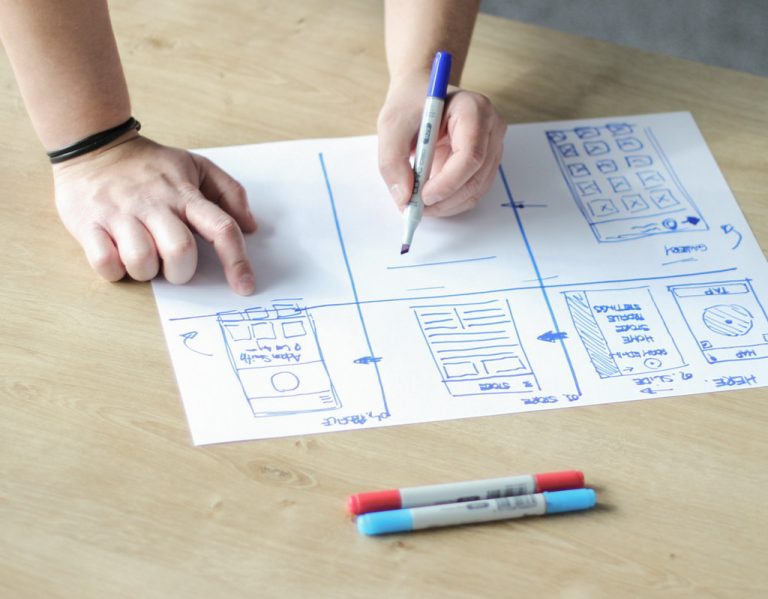
In order to best understand what wireframes are, you should think about the architect’s blueprints and the engineer’s schematics.
In general, we divide wireframes into 2 types:
Low-fidelity wireframe
This sort of wireframe is the most basic. Only the key aspects of the app design are represented here, such as:
With low-fidelity wireframes images are still placeholders and there’s still filler text since these are the early stages of app design.
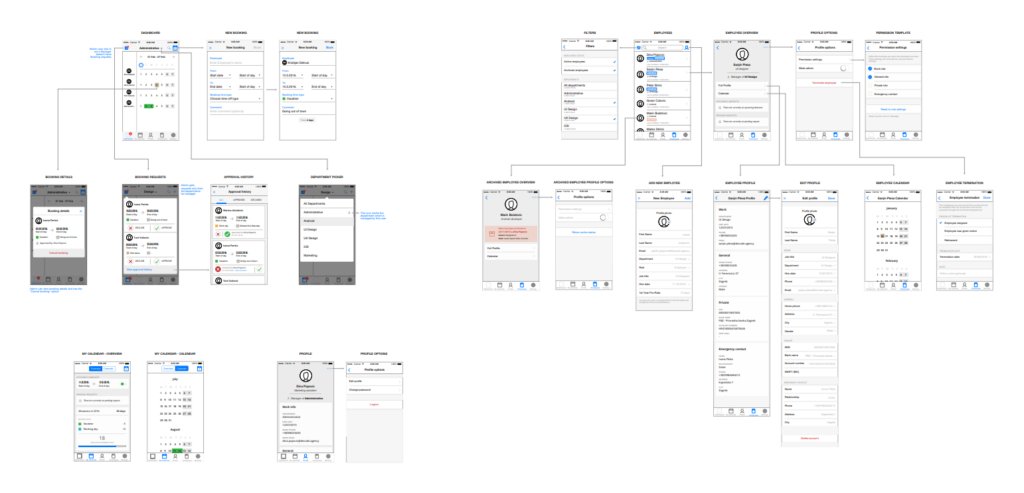
High-fidelity wireframe
High-fidelity wireframes fill out the details missing in the low-fidelity wireframes. UI elements begin to take shape and placeholders are replaced with actual text or images.

Source: UX collective
They’re often made further down the line of app design and they’re used to clearly communicate the aesthetic design and other secondary elements.
Here’s why you should focus on wireframes:
Here’s a quick guide on making a wireframe:
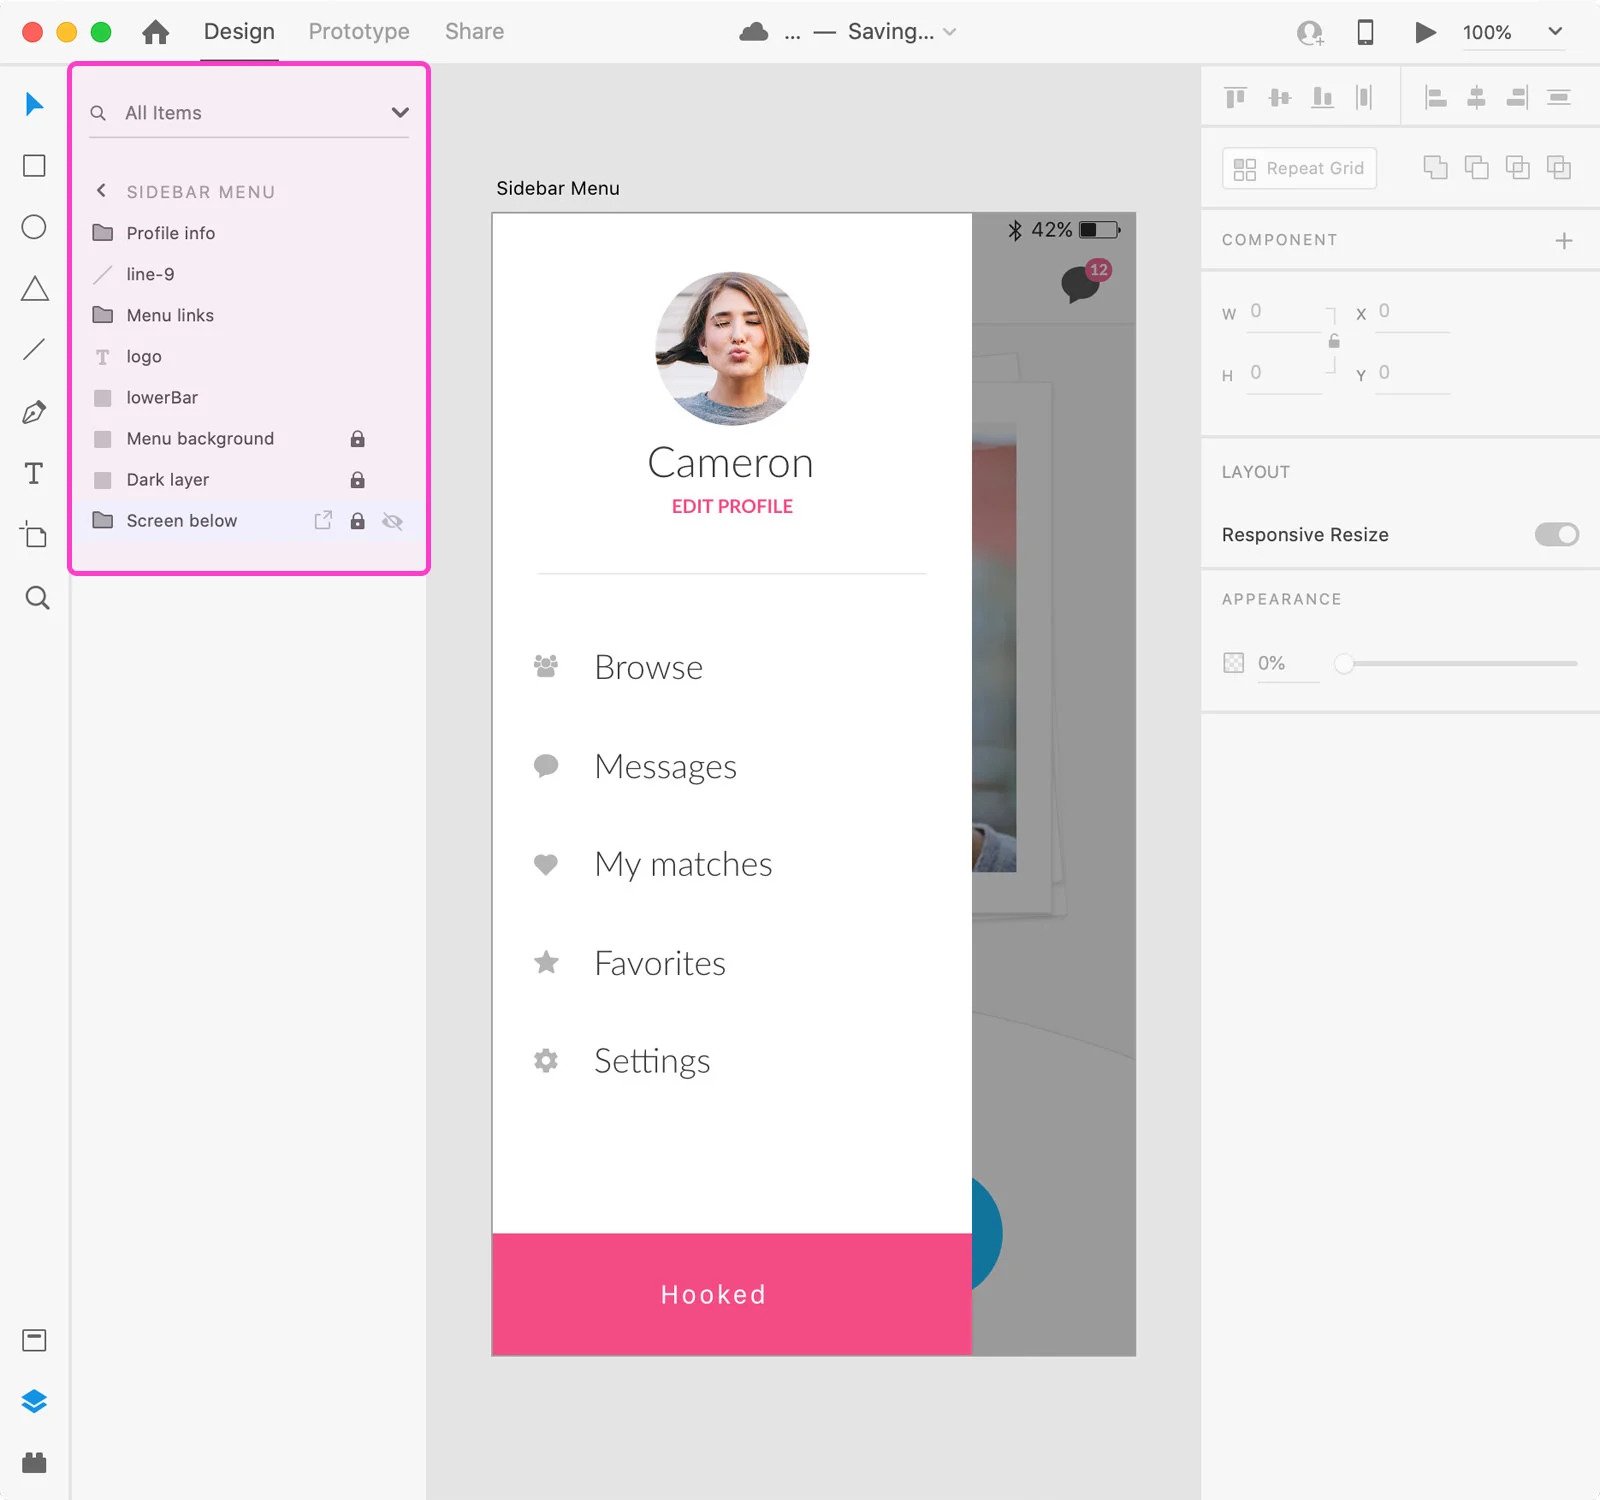
Wireframes lead us to their prettier, more developed cousin, the prototype.
Prototypes are the next step in the process of app design. They differ from wireframes in that they’re almost complete visual representations of what the app will look like.
They feel like an app and look like an app but there’s still not a single line of code within.
The UI elements have been designed or they’re close to being finished. Now it’s time to see how it all works when a user interacts with the app.
The prototype’s purpose is, among other things, to gain usability and functionality feedback early in the process.
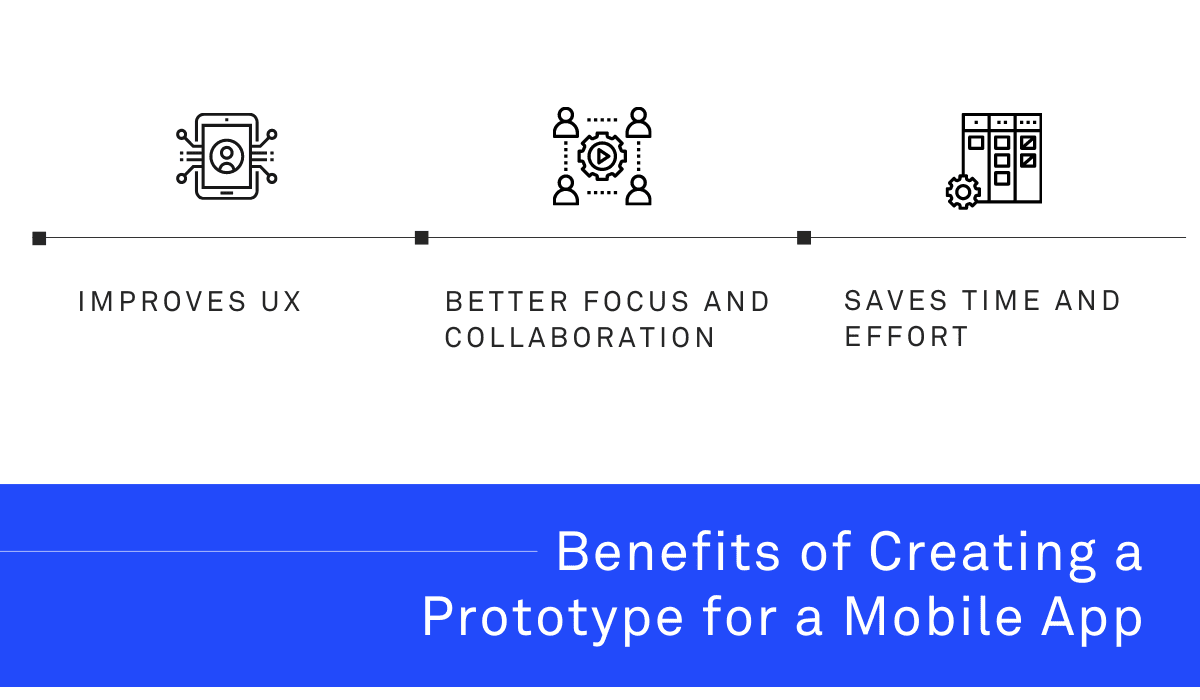
The importance of making prototypes can’t be overstated.
Improves UX
Feedback on UI and UX is gathered early in the process of app development.
The user experience of the design can best be tested and improved through prototypes because it’s early in the design process while interactivity is there.
Saves money and time
Making changes to design very late in the process can prove costly and it can lose you a lot of time. Just like wireframes, prototypes help your team encounter problems early and iteration can be done without much cost.
Helps communicate
Prototypes are great for communicating the user flow, the UI design direction and functionality. Your team and stakeholders can quickly understand the vision and maybe provide valuable advice on how to improve it.
So we’ve established that prototypes are important and making them properly benefits everyone.
But which prototyping tools are the best for making them?
Here are my top 3:
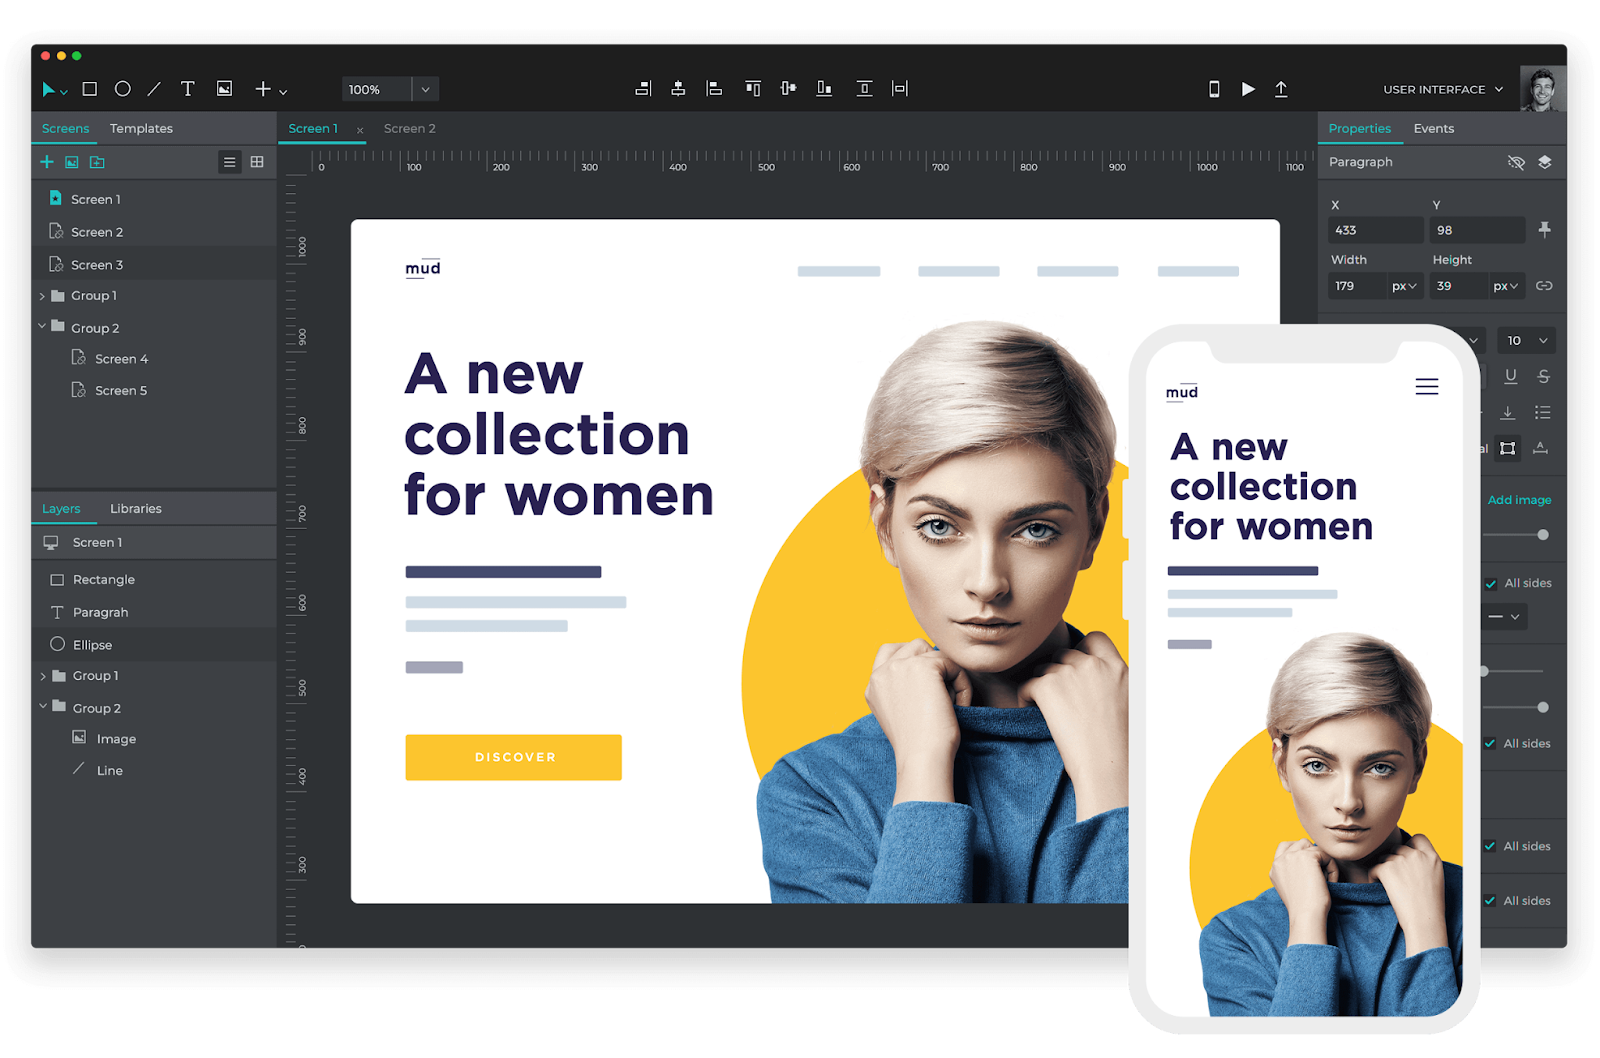
Adobe XD
Adobe XD has all of the features necessary for great UI and UX design such as content-aware layouts and 3D transforms.
Source: XDGuru
It’s integrated with other Adobe’s products Illustrator and Photoshop which makes it easy to import images that are important for your prototype.
Adobe XD also has no problem resizing or rescaling your design elements because it’s vector-based.
Proto.io
Another great prototyping tool is Proto.io.

Source: Proto.io
It has 1000+ templates, 2000+ components, and 6000+ digital assets which makes its library one of the biggest in the prototyping game.
It boasts great interactivity functions, meaning you can get creative with your prototype.
Among its integrations are also Photoshop and Sketch, so no need to start from scratch.
Justinmind
Justinmind comes to mind when I think of a prototyping tool great for beginners.
Source: Justinmind
Its simple user interface allows for that, along with supporting documentation such as videos and blogs that give tutorials on how to use it.
Jira, the whole Adobe Suite, Sketch, and Azure DevOps Server are integrated with Justinmind making it one of the most well-connected prototyping tools.
Making a functional detailed prototype is a must in the app design process and neglecting this step can lead to a lot of problems in the future.
As UX is the most important part of app design we’re not gonna focus so much on testing for bugs in an app or something similar.
We’ll focus only on design testing.
So, what is it?
It’s the sort of testing that focuses on the UI, UX design, accessibility, and usability of the design.
It also tests the overall user experience and tries to understand what could be improved.
But why is testing so important for app design?
Here are important aspects of the design you need to test for:
Requirement differences
It can happen that through the design process requirements aren’t being followed. You should try to find the differences and correct them.
Example: Requirements state the dashboard should be black, while in the design it’s blue.
Brand consistency
From the tone of voice in the UX writing to aesthetic elements, your brand should have a clear and consistent identity.
Example: There’s a clearly upbeat, fun tone of voice throughout the entire app but in certain screens, there’s robotic technical jargon.
Typos
This one’s pretty clear. You need to thoroughly scan each screen for typos in the text. Mistakes can happen to anyone.
Usability
Testing the user flow constantly is never a bad idea. Using methods like Guerilla testing you should be able to gain insights into how easily users can use the app.
Without testing our next step would be shooting in the dark.
As mentioned in the intro, some of these steps are used throughout the app design process, from start to finish.
Iteration is one of them.
Iteration means making updated versions of your product based on testing and getting user feedback.
It’s the basis of modern app design and development with agile methodologies such as SCRUM and Kanban.
Using research and testing, your app designers can make informed iterations of the app design, improving it according to their findings.
All design you see in the most popular apps like Facebook, Instagram, Spotify etc. has gone through iterations and is constantly evolving to meet user wishes.
You should iterate your wireframes, prototypes, UI design, and basically anything that can be made better.
Be careful though. You shouldn’t iterate until kingdom come.
Source: Nielsen Norman Group
When it comes to usability this graph paints an interesting picture. It shows that not all iterations bring improvements.
Let me break it down:
The first couple of iterations bring major improvements. Here the worst problems and bugs are squashed and the design gets a big boost.
The more iterations you do, the smaller the changes are going to be because the design gets more polished.
It’s not yet sure where the sweet spot is for a number of iterations in app design, but it’s certain that after a certain number you hit the point of diminishing returns.
There’s one study, however, that has found that each iteration of design improved usability by 34%. That is up until the 4th iteration when it actually began regressing.
No matter the number of iterations it’s absolutely true that you should iterate your app design to improve it.
The process of making an app design certainly isn’t easy. It can involve teams of designers, researchers, and developers working in unison to make things happen.
You’re faced with many obstacles but if you follow the process we outlined for you, you should be alright.
So let’s summarize the process:
If you’re still interested in app design, app development and all aspects of it feel free to check out our blog.

Antonija is a powerhouse when it comes to product design. She's skilled at detecting pain points and client needs during product discovery and turning them into stunning user experiences. And with her technical background, her designs don't just look great - they work and solve real problems, too. In her spare time, she enjoys creating motion designs, animations and posters. When she's not designing, you can find her hitting the gym and daydreaming about her ideal work spots in either Zadar or Amsterdam, whichever feels right at the moment.
Thanks to this article, you'll learn what an app mockup is, what it's like to create one, and how to use it.

We will discuss six app wireframing mistakes you can make and provide some good tips for avoiding them.

This article is a quick guide to the most common screens in an app. We cover 9 main types and help you create a great app.