It involves testing various aspects of the API, such as
Endpoints
Request methods
Input parameters
Response data
All of this is to ensure that the API behaves as expected and meets specified requirements.
API testing can be performed manually or through automated tools, helping to detect bugs, errors, and inconsistencies early in the development lifecycle.
By thoroughly testing APIs, engineers can ensure interoperability, stability, and scalability of their software products.
This ultimately results in delivering a seamless experience for users and minimizing the risk of issues in production environments.
The key components of API testing are varied and equally essential for success. These are:
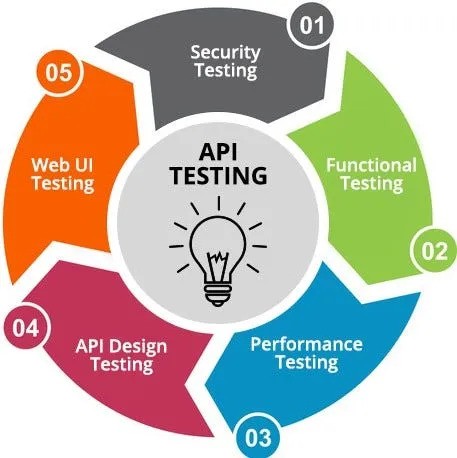
Functional testing– Validates API functionality, including input parameters, request methods, and response data, to ensure it meets requirements.
Load testing– Assesses how well the API performs under expected load conditions, ensuring it can handle anticipated levels of traffic without degradation.
Security testing– Identifies vulnerabilities such as injection attacks or unauthorized access, ensuring data integrity and confidentiality.
Performance testing– Evaluates API response times, throughput, and resource utilization to ensure optimal performance under various conditions.
Integrationtesting– Verifies seamless interaction between different software components, ensuring APIs work cohesively within the overall system architecture.
Reliabilitytesting– Tests the API’s reliability under different scenarios to ensure it operates consistently and can recover from failures gracefully.
API testing tools
Embraced by professionals worldwide, these top API testing tools excel in functionality, ease of use, and industry recognition.
Postman
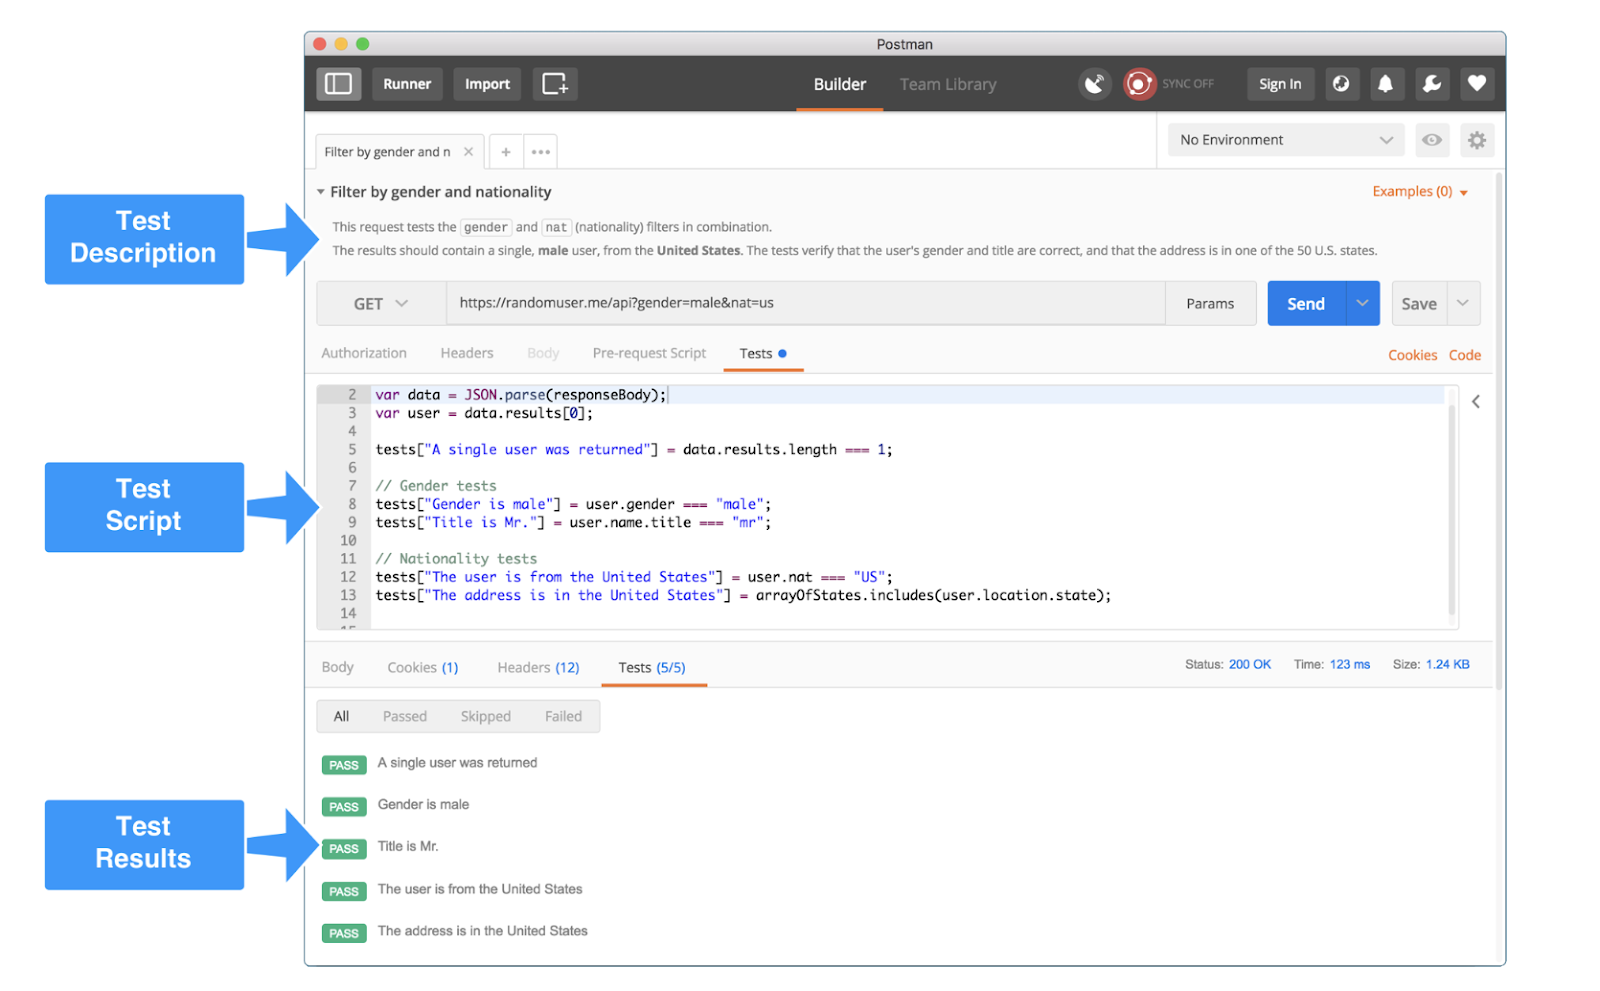
Known for its intuitive interface and powerful features, Postman simplifies API testing, offering capabilities for designing, testing, and debugging APIs.
SoapUI
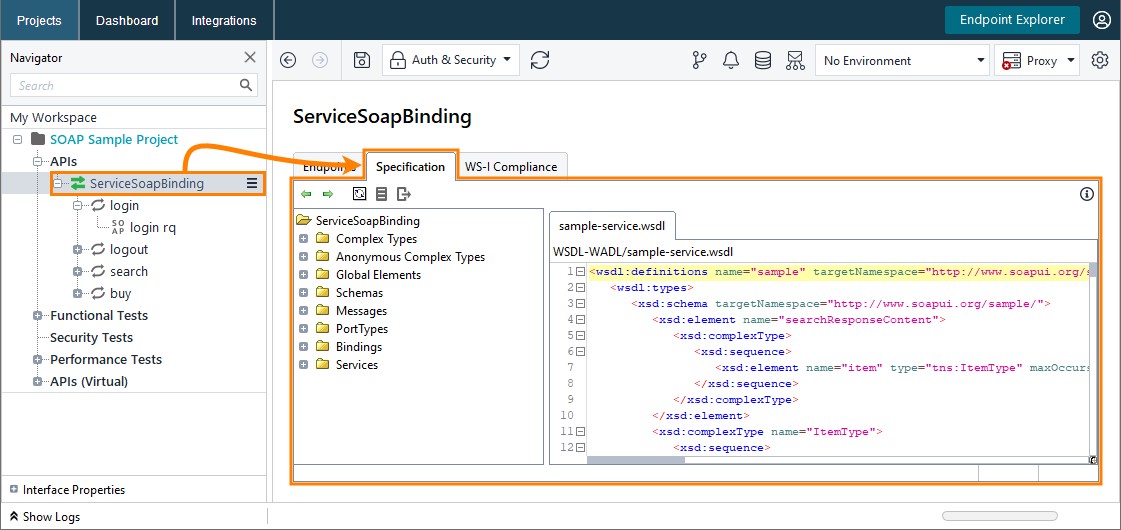
Renowned for its robust testing capabilities, SoapUI specializes in testing SOAP and REST APIs, enabling comprehensive testing and automation.
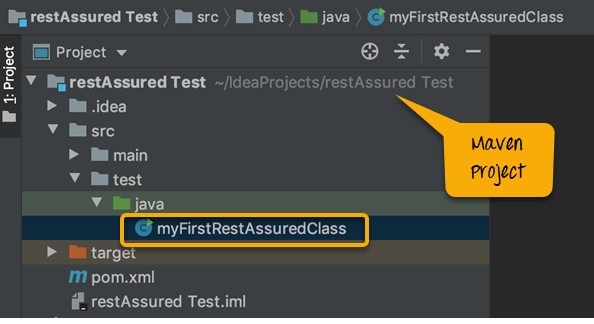
Leveraging Java, REST Assured facilitates automated testing of RESTful APIs within Java-based projects, offering flexibility and scalability for testing needs.
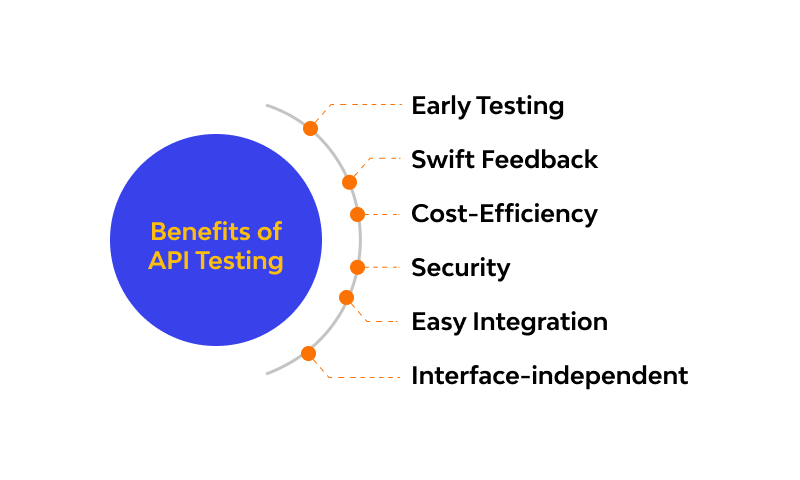
Earlyissueidentification– API testing helps detect bugs and errors in the early stages of development, reducing the cost and effort of fixing them later
Improvedquality– By thoroughly testing APIs, organizations can ensure that they meet functional, performance, and security requirements, leading to higher-quality software products
Enhancedsecurity– API testing helps identify and mitigate security vulnerabilities, reducing the risk of data breaches and unauthorized access
Cost–efficiency– Finding and fixing issues early in the development process saves time and resources compared to addressing them later in production or maintenance phases
Better user experience– Reliable and well-tested APIs contribute to a smoother user experience, ensuring that applications function as intended and meet user expectations
Competitiveadvantage– Offering robust and reliable APIs can give organizations a competitive edge by enhancing their reputation and attracting more users or customers
Difference between API testing and UI testing
Although API testing and UI testing is similar, there are some notable differences.
Focus: API testing focuses on the backend functionality of an application, testing the communication between different software components via APIs. UI testing, on the other hand, evaluates the frontend user interface to ensure usability and user experience.
Granularity: API testing operates at a lower level, testing individual functions, endpoints, and data exchanges within the application.
UI testing operates at a higher level, testing the application’s interface, navigation flows, and user interactions.
Independence: API testing can be performed independently of the UI, allowing for early testing in the development process.
UI testing typically requires a fully developed user interface, making it more dependent on the frontend implementation.
Coverage: API testing provides comprehensive coverage of backend functionalities, while UI testing focuses on validating user interactions and visual elements visible to end-users.
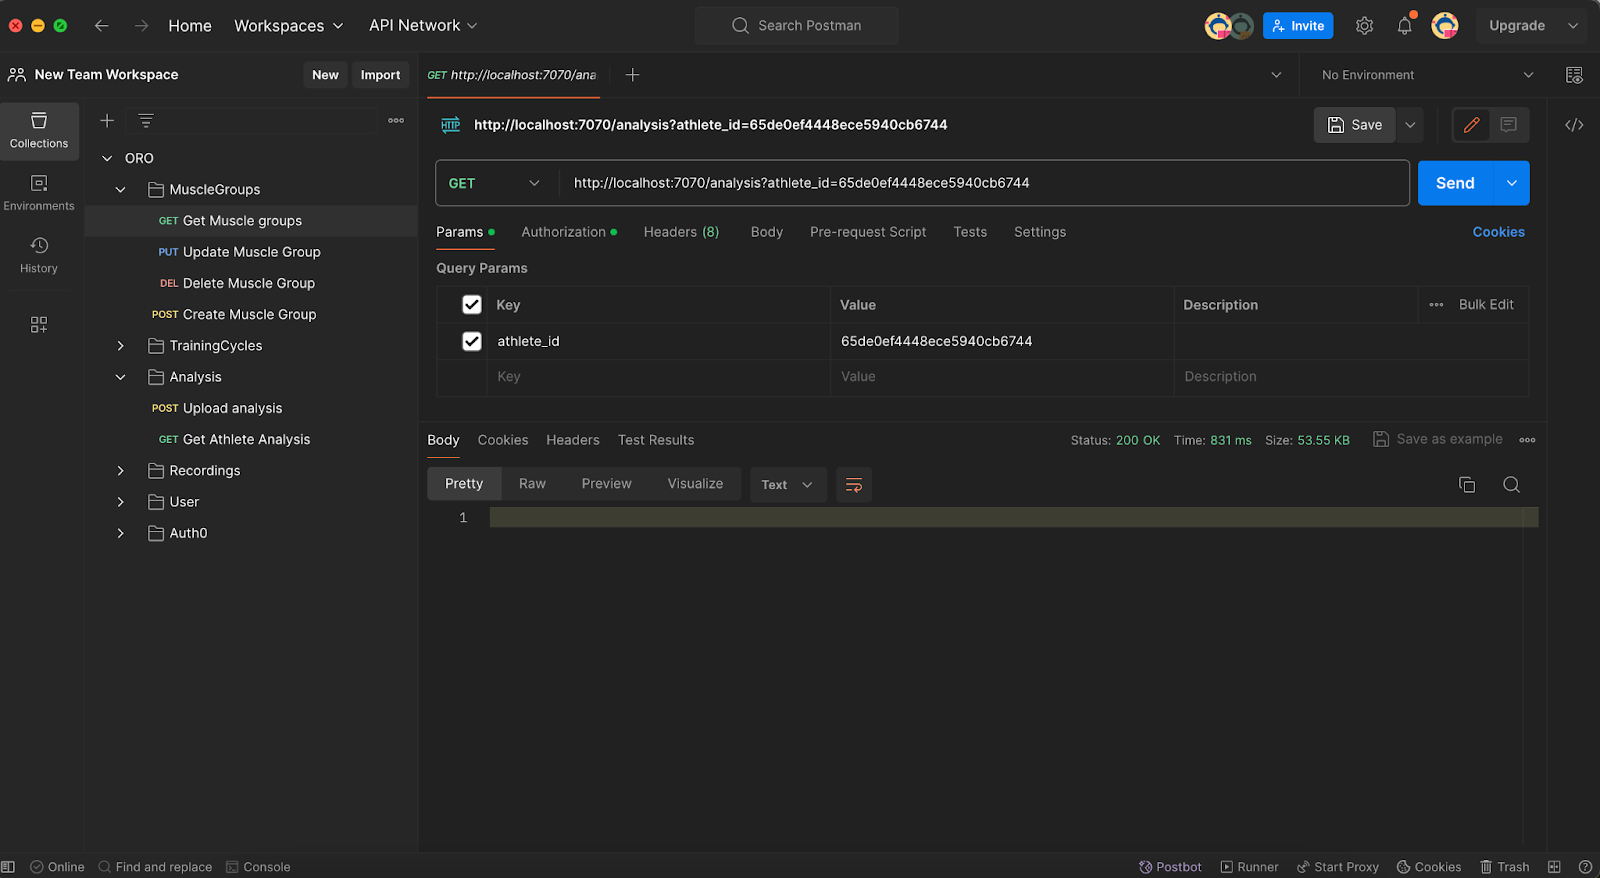
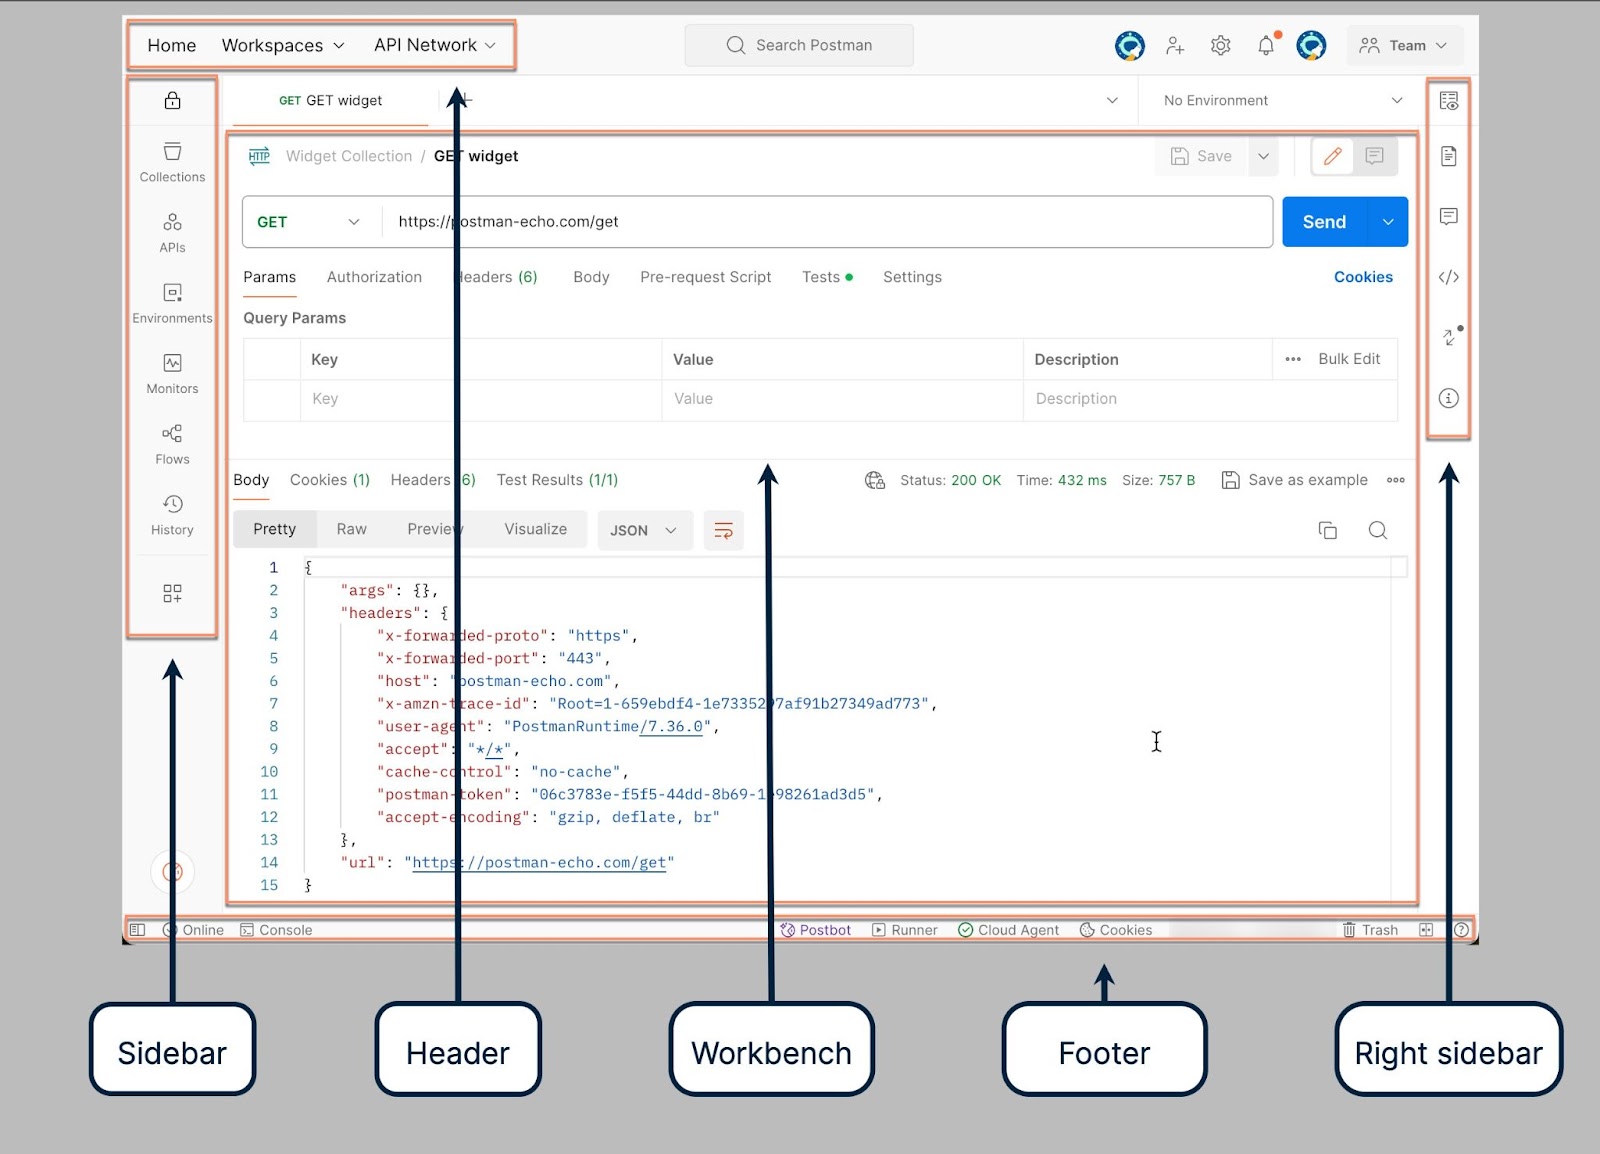
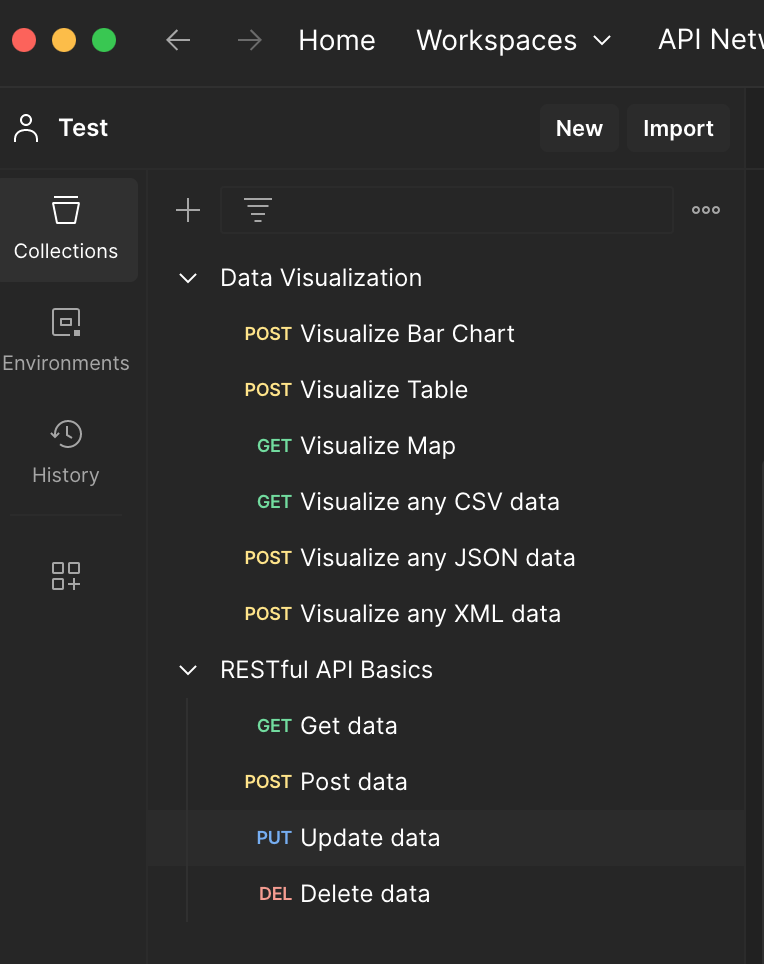
Sidebar: The left sidebar where you can organize your requests into collections.
Header: The header enables you to create workspaces, access reports, explore the public API network, search in Postman, view sync status and notifications, and access your settings, account, and Postman plan.
Workbench: The area where you can set up and send HTTP requests.
Footer: The footer on the bottom of Postman enables you to find and replace text, open the Console, capture requests and cookies, and access several other tools.
Right sidebar: The right sidebar gives you access to more tools, including documentation, comments, code snippets, and request information, based on which kind of Postman element you select.
Sendingyour firstrequest:
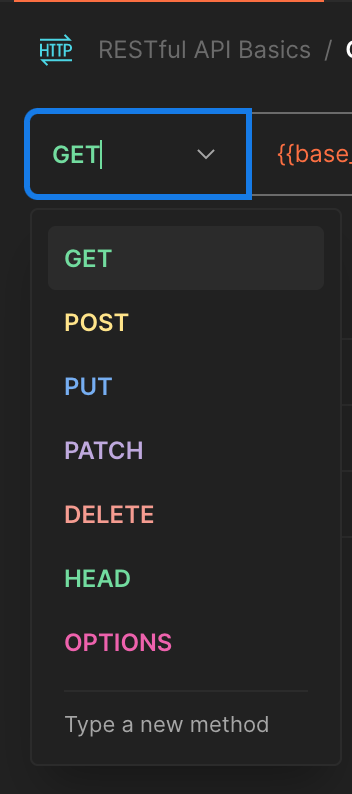
1. Select request type:
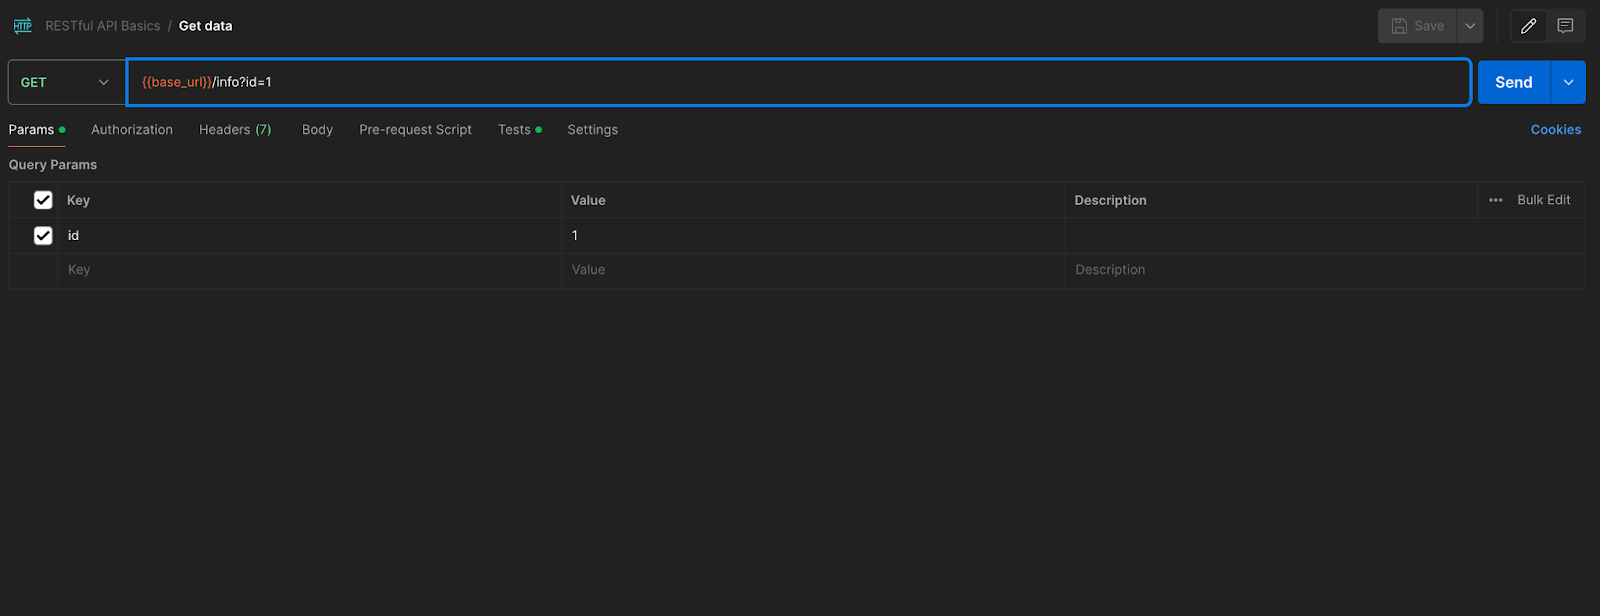
From the dropdown next to the URL bar, select the HTTP method (GET, POST, PUT, DELETE, etc.) you want to use.
2. Enter request URL:
In the URL bar, enter the API endpoint URL you want to test.
3. Headers (optional):
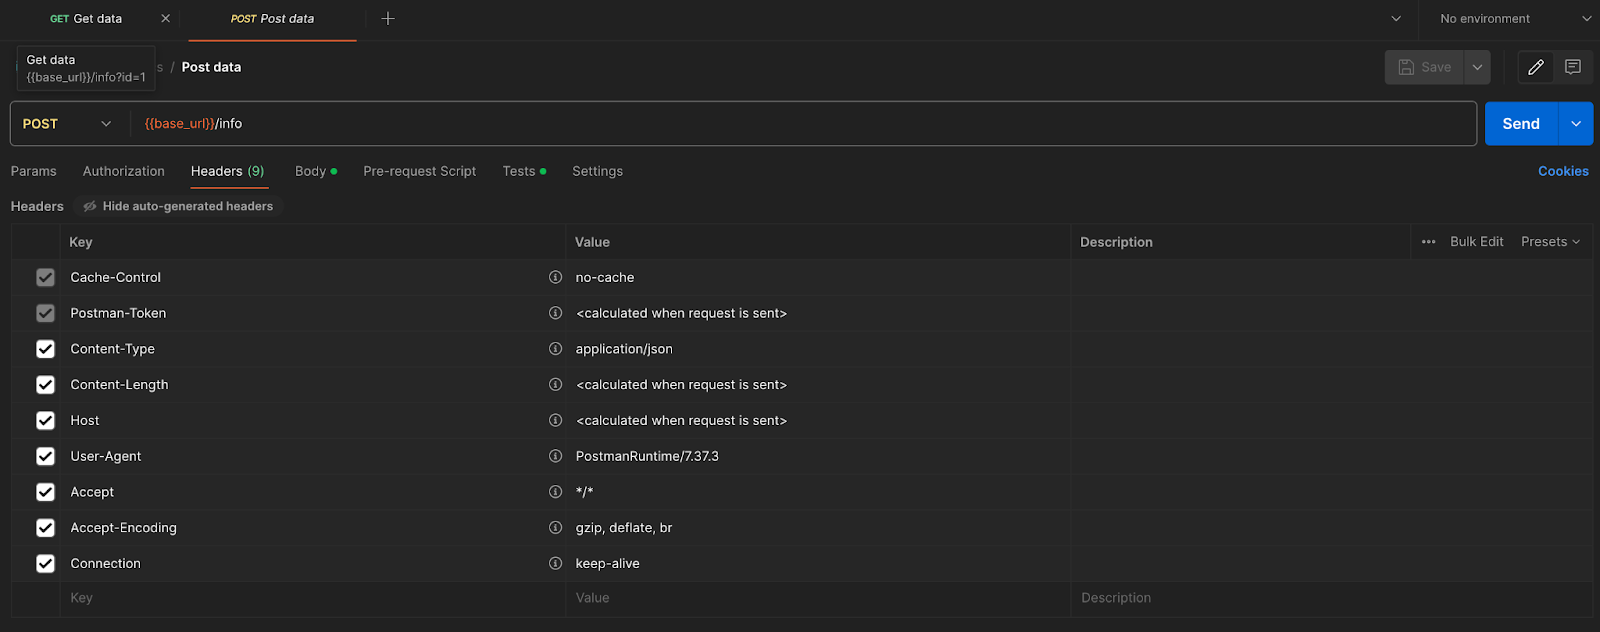
If your request requires headers (e.g., Authorization, Content-Type), you can add them under the “Headers” tab below the URL bar.
4. Body (For POST, PUT, etc.):
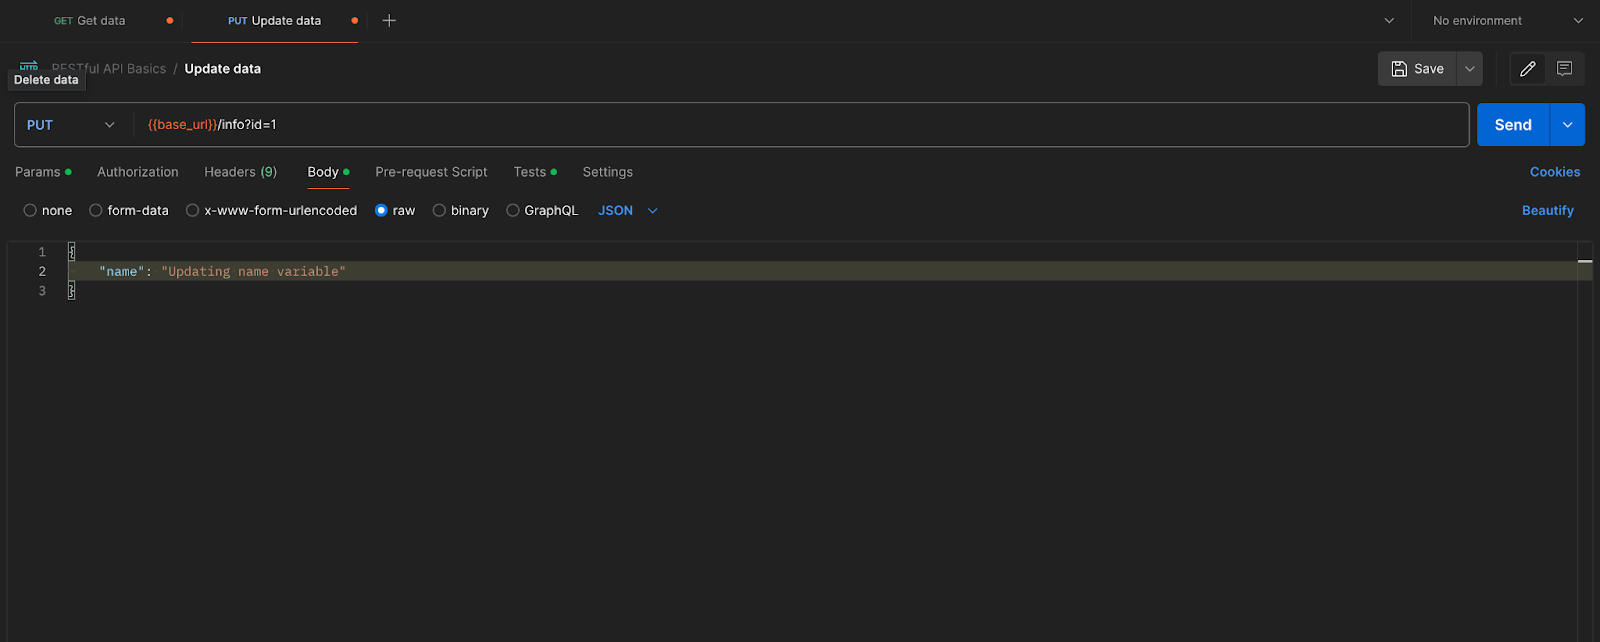
If your request requires a body (e.g., JSON payload), go to the “Body” tab and choose the format (raw, form-data, x-www-form-urlencoded, etc.), then enter your data.
5. Send request:
Click the “Send” button to send the request.
6. Viewing response:
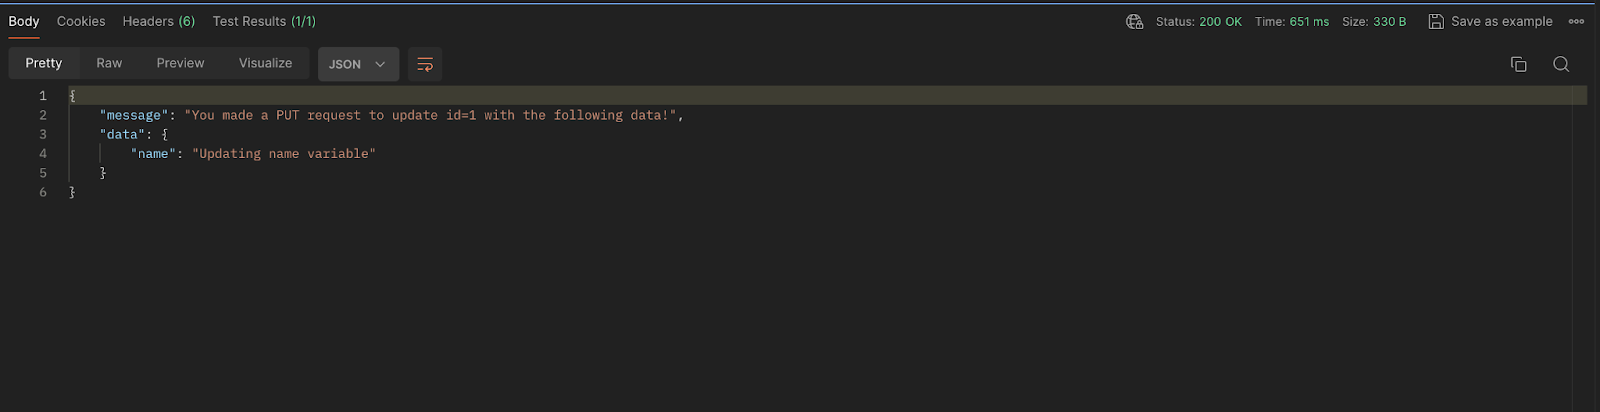
After sending the request, the “Response” tab will display the server’s response.
You can view the response body, headers, and status code here.
7. Writing tests:
Go to the “Test” tab below the request editor.
Write JavaScript code to validate the response. For example:
javascript
Copy code
pm.test("Status code is 200", function () {
    pm.response.to.have.status(200);
});
Click the “Send” button again to run the test scripts.
8. Organizing requests into collections:
Click on the “+” button next to “Collections” in the sidebar.
Enter a name for your collection and click “Create.”
Drag and drop requests into the collection to organize them.
9. Running collection and automation:
Click on the “Runner” button at the top to open the Collection Runner.
Select the collection you want to run.
Click “Start Test” to run all requests in the collection.
Use the “Tests” tab in each request to automate validation checks.
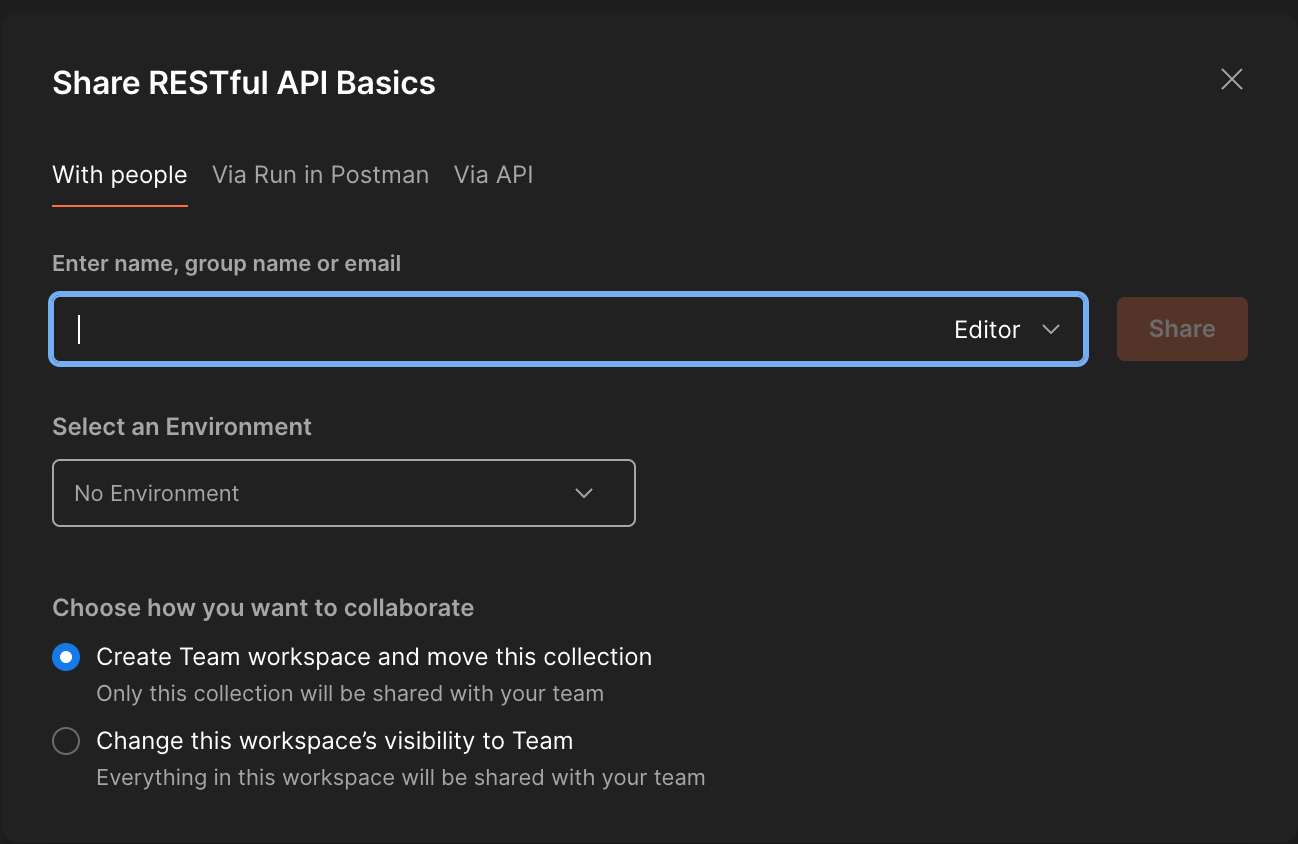
10. Sharing collections:
You can share your collections with others by clicking on the “Share” button next to the collection name.
Generate a shareable link or export the collection to share it.
Conclusion
As we’ve uncovered through this article, API testing is crucial to successful software development and longevity.
We’ve walked through core API testing concepts, including the different types of API testing and tools, in addition to the benefits of API testing and how to perform tests.
By utilizing these tools and methodologies, you can ultimately improve your product, efficiency, and overall performance.
If you’d like to read more about all things tech, check out our blog!